

Effective Surface Repair Kits in Australia

Surface damage happens. Scratches, chips, and cracks can ruin the look of timber, tile, and stone surfaces. Replacing these materials is costly and time-consuming. That is why surface repair kits offer a practical, affordable solution. They restore damaged surfaces quickly and efficiently. I want to share insights on effective surface repair kits in Australia, helping you make smart choices for your repair needs.
Why Choose Surface Repair Kits?
Surface repair kits save time and money. Instead of replacing entire sections, you fix the problem spot. These kits come with everything needed to repair scratches, chips, and cracks. They suit a variety of surfaces including timber, ceramic tiles, and natural stone.
Using a repair kit means you avoid the hassle of hiring professionals or ordering expensive replacements. The kits are designed for easy use, even if you have no prior experience. Most kits include fillers, colorants, and finishing tools to match the original surface perfectly.
Key benefits include:
Cost-effective repairs
Quick application and drying times
Minimal tools required
Long-lasting results
Environmentally friendly by reducing waste
Choosing the Right Surface Repair Kits
Selecting the right kit depends on the surface type and damage severity. Kits vary in materials and application methods. Here are some tips to guide your choice:
1. Identify the Surface Material
Different surfaces require different repair compounds. For timber, look for wood fillers or wax sticks. Tiles need epoxy or resin-based fillers. Stone surfaces often require specialized stone repair kits with color-matching pigments.
2. Assess the Damage
Small scratches and chips can be fixed with simple fillers. Larger cracks or holes may need multi-step kits with bonding agents and sealants. Check the kit’s specifications for maximum repair size.
3. Match the Color
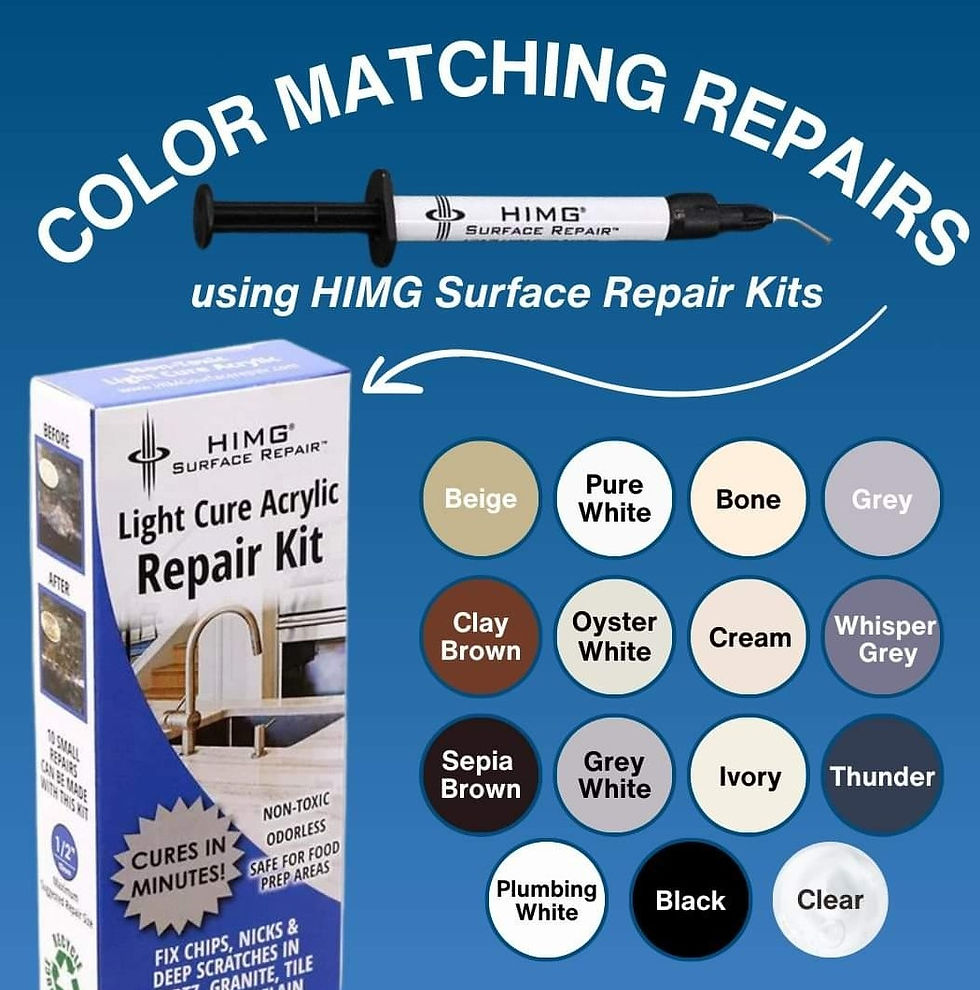
A good repair kit offers color options or mixing guides. This ensures the repair blends seamlessly with the surrounding surface. Some kits include pigments to customize the color.
4. Ease of Use
Look for kits with clear instructions and all necessary tools included. Some kits come with sanding pads, spatulas, and brushes. Choose one that fits your skill level and project size.
5. Durability and Finish
Check if the repair is water-resistant, heat-resistant, or UV-stable depending on the surface location. A durable finish prevents future damage and maintains appearance.
How to Use Surface Repair Kits Effectively
Using a surface repair kit correctly is key to a successful repair. Follow these steps for best results:
Step 1: Clean the Area
Remove dirt, grease, and loose particles from the damaged spot. Use a mild detergent and water, then dry thoroughly.
Step 2: Prepare the Surface
Lightly sand the area if recommended. This helps the filler adhere better. Remove dust after sanding.
Step 3: Mix the Repair Compound
If the kit requires mixing, follow the instructions carefully. Use the provided colorants to match the surface tone.
Step 4: Apply the Filler
Use the spatula or applicator to fill the damage. Press firmly to remove air bubbles. Smooth the surface as much as possible.
Step 5: Let it Dry
Allow the repair to cure fully. Drying times vary from minutes to hours depending on the product.
Step 6: Sand and Finish
Once dry, sand the repair to blend it with the surrounding surface. Some kits include finishing wax or sealant for extra protection.

Practical Applications of Surface Repair Kits
Surface repair kits suit many scenarios. Here are some common uses:
Timber furniture: Fix scratches, dents, and chips on tables, chairs, and cabinets.
Flooring: Repair damaged timber floorboards or cracked tiles.
Kitchen surfaces: Restore chipped stone benchtops or tiled splashbacks.
Bathroom repairs: Fix cracks in ceramic tiles or stone vanity tops.
Outdoor surfaces: Repair weathered timber decks or stone patios.
Using repair kits extends the life of your surfaces and keeps them looking new. This reduces waste and the need for costly replacements.
Where to Find Quality Surface Repair Kits in Australia
Finding reliable surface repair kits in Australia is easier than ever. Many suppliers offer kits tailored to local materials and conditions. When shopping, look for kits that:
Are designed for Australian timber, tile, or stone types
Include clear instructions and support
Have positive customer reviews
Offer color matching options
For a trusted source, consider exploring surface repair kits Australia to find innovative DIY and professional kits. These kits help you save money and reduce waste by restoring damaged surfaces instead of replacing them.

Tips for Maintaining Repaired Surfaces
After repair, proper maintenance keeps surfaces in top condition. Here are some tips:
Clean surfaces regularly with appropriate cleaners.
Avoid harsh chemicals that can damage repairs.
Use protective pads under furniture to prevent new scratches.
Reapply finishing wax or sealant as needed.
Inspect repaired areas periodically for signs of wear.
Following these steps ensures your repairs last longer and your surfaces stay attractive.
Surface repair kits offer a smart, efficient way to fix damaged timber, tile, and stone surfaces. They save money, reduce waste, and restore beauty with minimal effort. By choosing the right kit and applying it carefully, you can tackle a wide range of repairs yourself. Whether for home or professional use, these kits are a valuable tool in maintaining quality surfaces across Australia.


Comments